 XML Software | edit-xml.com
Edit XML With More Comfort
XML Software | edit-xml.com
Edit XML With More Comfort


Installation Instructions
This page describes how Easy XML Editor (Pro) and XML Assistant are installed.
Information and Links for Download: Download of Easy XML Editor (Pro) and XML Assistant
Installation of Easy XML Editor
In this step you install Easy XML Editor. (The installation of XML Assistant is done very similar)
- After download please start the setup by double clicking on it.
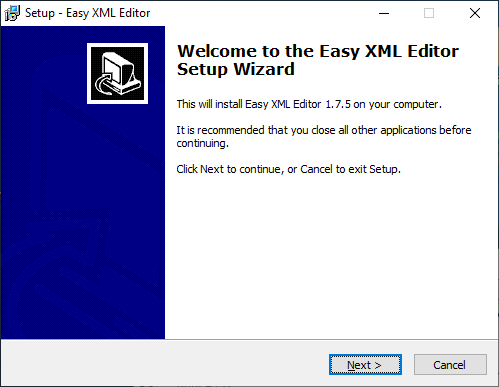
- The Setup-Assistant is shown. Please proceed with 'Next >'.
- The licensing agreement is shown. If you agree with it, please activate 'I accept the agreement' and proceed with 'Next >'.

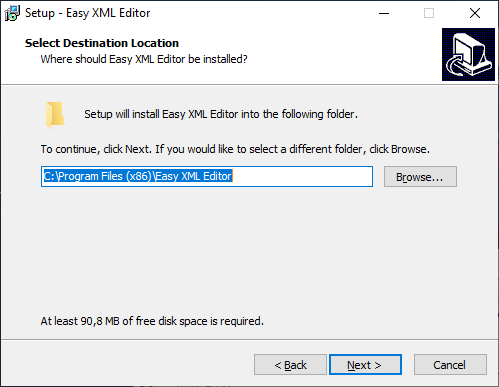
- On this page of the wizard you choose the destination directory. You can keep the path suggested and proceed with 'Next >'.
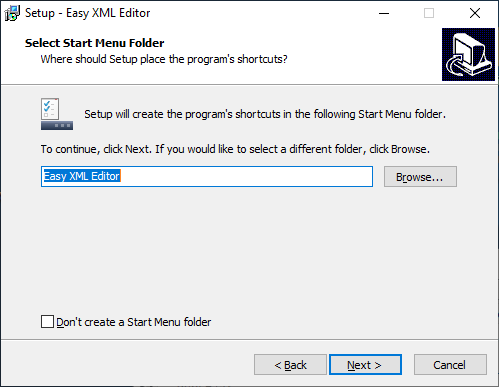
- Here you choose, which folder should be created in the Window© start menu. You can keep the defaults and proceed with 'Next >'.
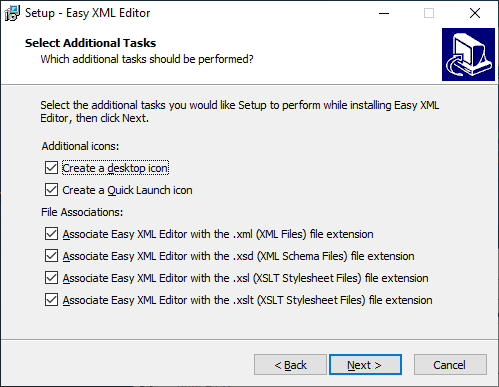
- With adjustment of the checkboxes you specify whether icons should be created. You can proceed with 'Next >'.
- On this page the options specified are summarized. Clicking on 'Install' will start the installation process.

- After copying the files the installation is finished. Close the window using 'Finish'.
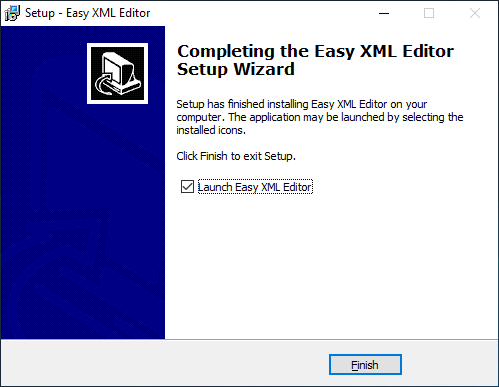
The installation is finished, now you can start the Easy XML Editor using the start menu or the desktop icon.
More information on usage of the Easy XML Editors can be found in the manual: Easy XML Editor User Manual.